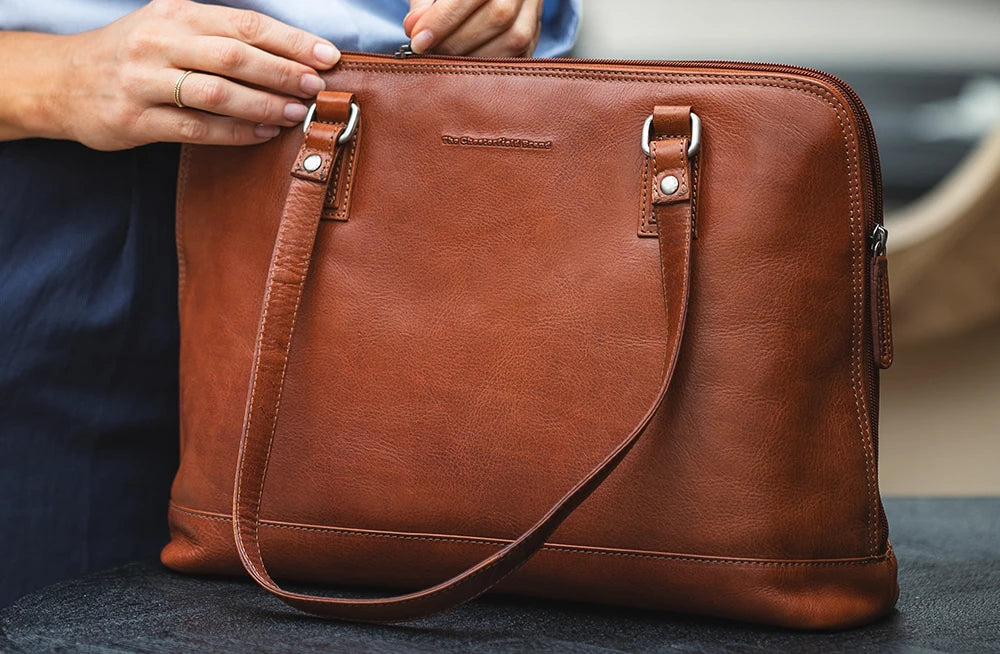
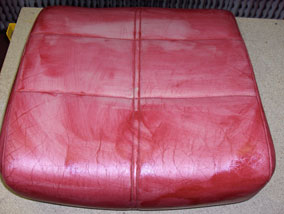
This is a guide that shows how to dye a leather sofa, to completely change the color of the leather of the leather sofa. It is of course possible to dye other leather products in a similar way, for example, you can dye a car upholstery. In the example, we will dye a light beige sofa cushion that has top-dyed leather (also called pigmented leather) and has a surface finish on top of the color. We will change the color of this sofa cushion to reddish brown to show how the process works.
A color change on a leather product can be done from any color, to any color, for example from black to white, or from white to black, with the same great results. So it doesn't matter if the leather sofa was previously dark and you want to recolor it to light, the leather color is completely opaque and the old color will not show through.
The leather dye we use, Furniture Clinic Leather Colourant, works on all types of leather, including suede. You can also use Viper Products leather dyes in the same way, Viper Polycryl has incredible covering power.
This is what you need to repaint a sofa:
– Ultra Clean leather cleaner used to remove dirt from the surface of the leather
– Leather Prep is used on dyed leather to remove old finish, NOTE: DO NOT use on aniline or other absorbent leather
– Alcohol Cleaner
– Leather Binder optional, used to reinforce the leather if it is very worn. Can also fill minor cracks
– Heavy Filler optional, a leather putty used to fill cracks and crazing
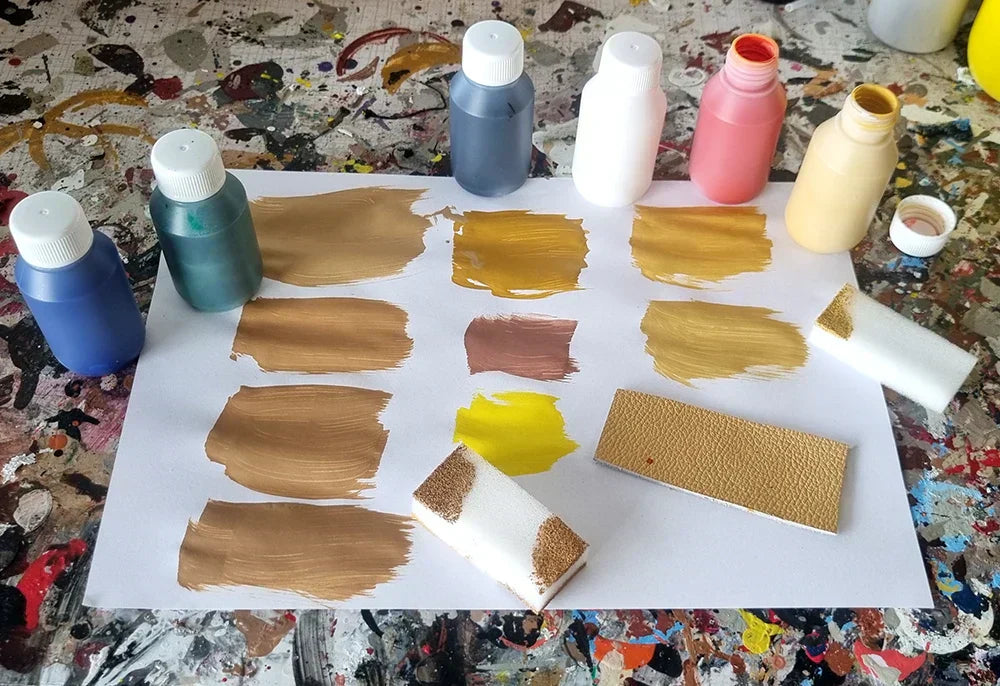
– Leather Colourant leather dye in any shade, can be mixed to your own shade. It is also possible to use Viper Polycryl leather paint .
– Leather Finish seals the color, provides a smooth and soft surface finish and also determines the shine of the leather's surface.
– Hardener Cross Linker X optional, mixed into paint or finish to give the paint even better durability
– Sponge, Scotchbrite, cloth
– Airbrush + airbrush propellant optional, but makes it easier to get an even layer of paint/finish
Step 1 – Cleaning and preparing the leather
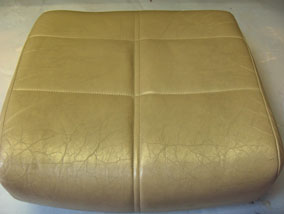
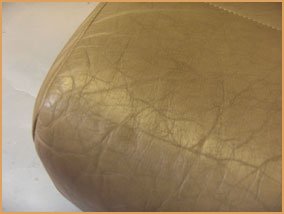
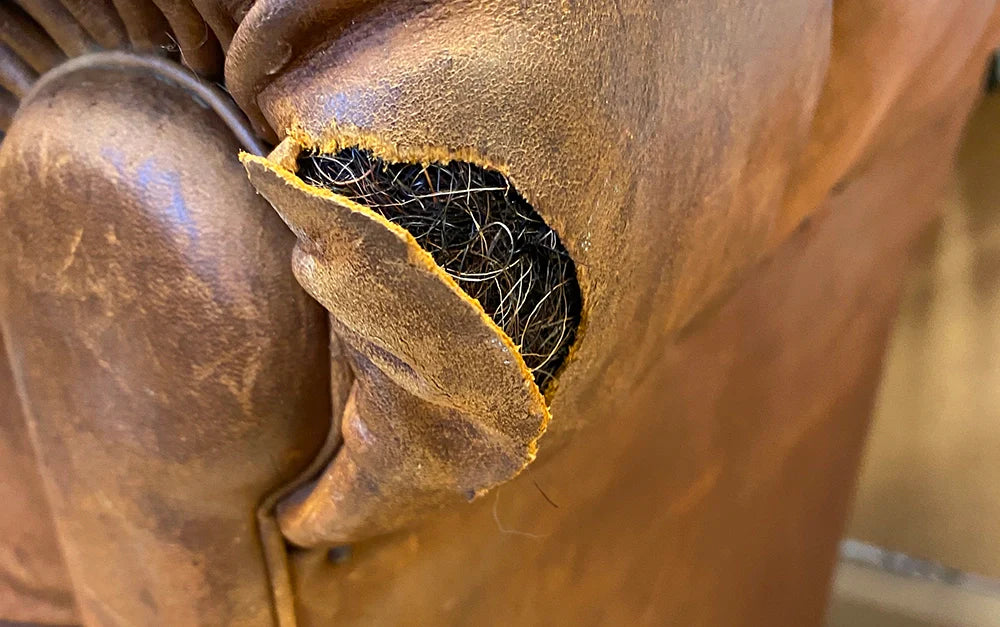
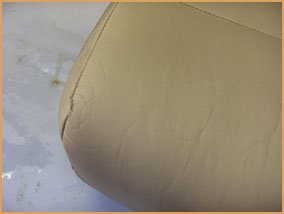
The first and most important thing to do is to clean and prepare the leather for dyeing. This is done to remove old wax, dirt, grease, oils, silicone and other things that have penetrated the leather over the years. If this is not removed, the dye will not penetrate and adhere properly. It is therefore very important that this is done properly. This step also removes the original surface finish of the leather. In the pictures above you can see that the surface finish has cracks and crazing, these will disappear when the leather is “prepped”. If the sofa is really dirty, you should first clean it with Leather Ultra Clean or a similar cleaning agent.
Always start with the back and sides. It is common for this to be a different type of leather, a split leather with an applied polyurethane surface (so-called bycast leather), or even artificial leather. These surfaces are more delicate and you should not use Leather Prep here, which can damage the surface. It is enough to wipe with a cloth moistened with Alcohol Cleaner . Not using Leather Prep on the sides and back will not affect the end result, since these are not actually used and therefore not “stressed”.
Since seat cushions, backs and armrests are used in a different way, are worn and "stressed", it is important that they are properly prepared. To do this, it is easiest to use a Scotchbrite (square, green polishing cloth). Place a couple of cotton balls soaked in Leather prep in this and fold over. Then rub the surface of the leather with the Scotchbrite in circular motions. Wipe with a cloth. The soaked cotton balls ensure that the Leather Prep is applied in the right amount. Make sure you get down properly into folds and wrinkles. Be careful with seams. In this way, you remove the leather's old surface finish, which is often scratched and cracked, and thereby we fulfill two goals; we get a smoother, softer and more attractive surface, and the leather is prepared for dyeing.
When the color of the leather begins to stain your scotchbrite, the leather is sufficiently prepped. This means you have removed the original finish and exposed the colored surface underneath.
Step 2 – Wipe the leather with Alcohol Cleaner

In step 1 we have removed the original finish of the leather and any silicone which is solvent based. Removing all silicone is important as it prevents the paint from adhering. However, there are silicone sprays and leather waxes that contain silicone which is not soluble in solvents, and to remove this we need to wipe the leather with Alcohol Cleaner . We do this with a cloth dampened with Alcohol Cleaner, or you can spray Alcohol Cleaner directly onto the leather and wipe with a cloth. Wait 30 minutes to allow the alcohol to evaporate.
If there are deeper cracks in the leather, these can be filled with Heavy Filler leather filler . If the leather is very worn, it is also a good idea to apply Leather Binder , which tightens and strengthens the leather fibers.
Step 3 – Apply a first coat of paint
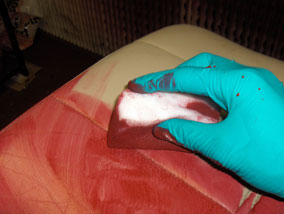
Shake the bottle of Leather Colourant thoroughly for 3 minutes to mix thoroughly. Apply a small amount of colour to a sponge and work the colour into the leather using circular movements. Start by working in hard to reach areas such as creases and wrinkles. Press the sponge a little and make sure the colour really penetrates the leather. If you press too hard, some foam may appear on the surface, this is not dangerous, just wipe it off with the sponge. The picture above shows what the cushion should look like after you have applied a layer of colour. NOTE : you should not try to get a perfectly smooth surface with the first layer of colour.
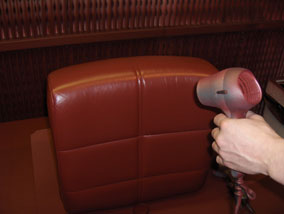
Let the paint dry. To speed up the drying process, you can use a hair dryer. Then apply two more coats of paint (letting dry in between) in the same way as above. It is possible to achieve a very nice result this way. However, the end result will be better if you also spray on a coat or two. The surface will be smoother this way.
Step 4 – Apply Color and Finish
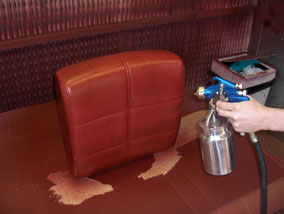
Wait 30 minutes after the last sponge application, then prepare to spray on another layer (or two, or three). If you have not done this before, it is a good idea to try it out by spraying on a piece of paper first, so that you get the feel. Hold the sprayer about 30 cm away and move the sprayer back and forth in thin layers with even movements. This will prevent the paint from running and give you an even and nice surface. Should the paint still start to run in any place, wipe it off with a cloth or sponge and paint it again.
Since the paint is water-based, it takes a while to dry. It is therefore easier to spray small areas and dry them occasionally with a hairdryer. It also makes it easier to avoid the paint from running.
There is no rule for how many coats you can apply. Apply one coat, make sure it is dry, and apply another coat until the underlying color is completely covered and does not show through anywhere.
Then it's time to spray on Leather Finish . The finish seals the color and gives the desired texture to the surface (glossy or matte). Apply at least three coats of Finish (let dry between each coat). To make the surface of the leather even more durable, you can add a little hardener Cross Linker X to the Finish.
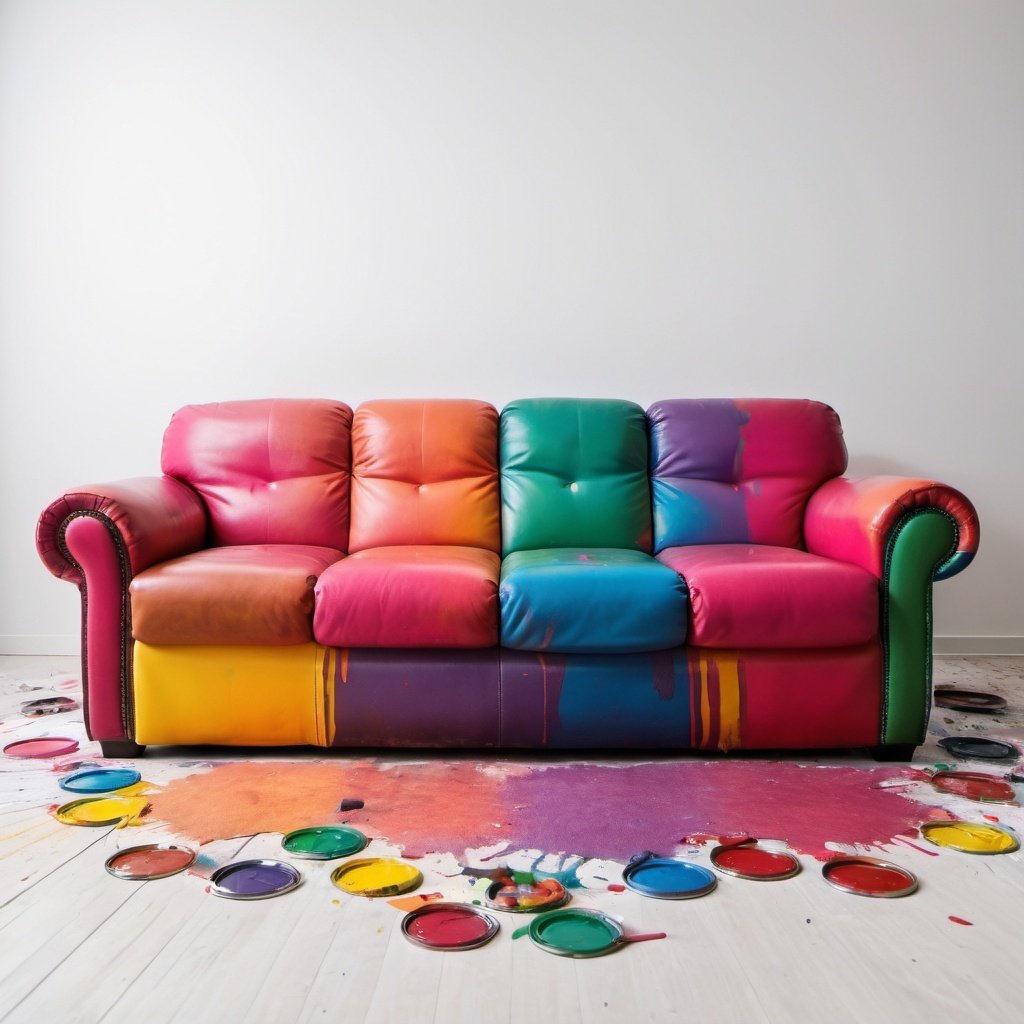
The finished result
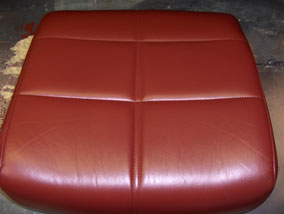
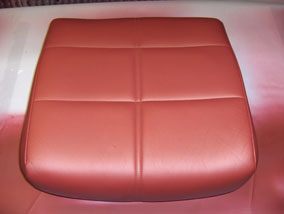
Here is the finished result. The left image shows the sofa cushion before the Finish was applied. In this case, the customer wanted the surface to be non-glossy, so we chose Leather Finish Semi-Matte. As the Finish is applied, the surface becomes matte and a half shade lighter.