Leather Colourant | Large Kit for Car Interior Restoration | Furniture Clinic
Watch this product and we will notify you once it is back in stock.
Leather Colourant | Large Kit for Car Interior Restoration | Furniture Clinic
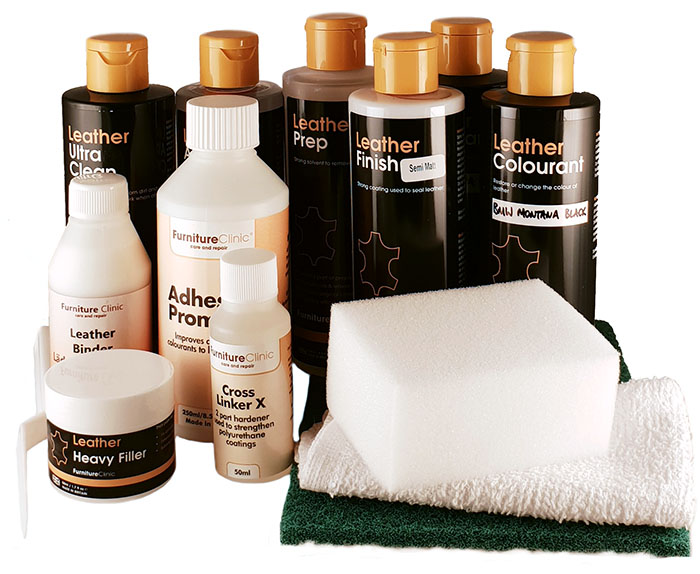
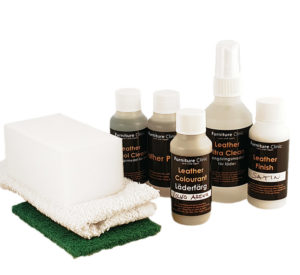
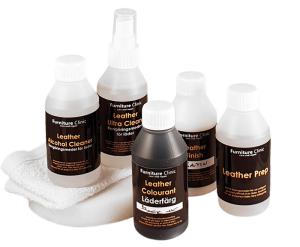
Our Largest Kit for Car Interior Restoration includes everything needed for a complete restoration of an entire leather car interior. The kit consists of essential products from Furniture Clinic required for professional recoloring of a leather car upholstery, including cleaning agents, prep, primer, leather dye, topcoat, leather filler, and accessories. The leather colors available in the dropdown menu are in stock for fast delivery. To view color charts, visit the respective car brand’s page.
Note: If your desired color is not listed in the dropdown menu, we do not have it in stock.
Contents:
- 250 ml Leather Prep
- 250 ml Alcohol Cleaner
- 250 ml Ultra Clean leather cleaner
- 500 ml Leather Colourant for car interiors
- 250 ml Leather Finish
- 250 ml Adhesion Promoter leather primer
- 50 ml Cross Linker Eco hardener
- 100 ml Leather Binder
- 50 ml Heavy Filler leather filler
- Palette knife
- Scotchbrite abrasive pad
- Sandpaper (600 + 1200 grit)
- Sponge
- Terry cloth
- Step-by-step instructions
How to Use:
- Clean Thoroughly: Begin by cleaning the leather with Ultra Clean leather cleaner.
- Remove Old Finish: Remove as much of the old finish as possible using Leather Prep.
- Degrease & Prepare: Wipe the leather with Alcohol Cleaner to remove loose color, old wax, and grease, ensuring a solid foundation for the new dye.
- Repair Damage: Fill any cracks, scratches, or holes with Heavy Filler, then sand smooth with sandpaper.
- Reinforce Leather: Apply Leather Binder to strengthen old, dry, or porous leather and create a fresh surface. Apply multiple layers if needed to fill small cracks.
- Prime Vinyl/Artificial Leather: For synthetic materials, apply two layers of Adhesion Promoter Primer. Dry with a hairdryer to enhance tackiness.
- Apply Leather Color: Start with one layer of Leather Colourant applied with a sponge. Let it dry. Add additional layers (2–3 total) using a sponge or airbrush, drying between each. Note that the color will dry slightly darker.
- Seal the Dye: Apply Leather Finish to seal the color. For enhanced durability, mix in Cross Linker Eco. Speed up drying with a hairdryer.
- Smooth the Surface: Lightly sand with fine-grit sandpaper (1000 or higher) to remove dust or imperfections. Wipe clean with a damp cloth.
- Final Finish: Apply a final layer of Leather Finish. Allow the surface to dry for 24 hours before use.
When complete, your leather surface will be so durable it will resist scratching under most circumstances.


