Here we go through step-by-step how to go about touching up the color, or completely re-coloring a worn leather steering wheel. To help us, we have the steering wheel coloring kit that we put together. It contains what is needed to make a nice and durable coloring of a car steering wheel.
The steering wheel is the interior detail that often wears out the most in a car, as the driver of the car sits and rubs it the most all the time. In addition to "normal" wear and tear from the friction that occurs when the hands slide over the surface of the steering wheel, dirt and grease from the hands break down the leather finish, and eventually the surface finish of the steering wheel is worn away. After that, it is not long before the underlying paint also begins to disappear.
A steering wheel is also often damaged by rings and nails, another common damage occurs when you get in the car with the ignition key in the ignition. It's easy to pull it over the steering wheel, and voila, you have a small tear in the leather of the steering wheel.
But all of this can be fixed quite easily with our steering wheel tinting kit , possibly supplemented with leather filler, such as FC Heavy Filler.
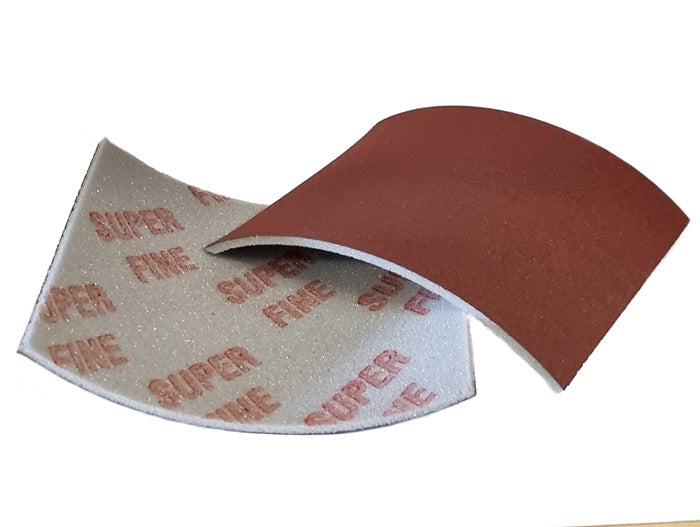
Step 1 - Cleaning and preparation: Start by doing a thorough cleaning with Viper Polyclean leather cleaner. Then sand away any unevenness as best you can with the included sanding cloth. Wash the steering wheel with Viper Ultra Prep. This removes old grease and wax and is important for removing all grease and other things from hands that have held the steering wheel over the years. This is a very important step, as the paint does not adhere well to dirt, grease and the like.
After cleaning and prep, if necessary, fill scratches and other damage with leather filler, and sand until the surface is smooth. Minor cracks and damage can be filled with Leather Binder leather reinforcer . With Binder, you can also build up a new surface layer if the steering wheel is very worn.
Step 2 - Staining: Now it's time to apply leather stain to the steering wheel. If it remains in place in the car, you should carefully mask off any details that are not to be stained.
If you have access to an airbrush, you can use it, but it is also fine to just sponge on the paint. If you use a sponge, it is extra important that it is allowed to dry thoroughly between coats of paint (use a hairdryer to speed up the drying process). The first coat of paint is massaged in, then the paint is "dabbed" on with the sponge. Two or three coats of paint are usually good.
Step 3 - Seal the paint with Top Coat: When you are satisfied with the color, it is time to seal the paint with a surface finish, Viper Top Coat. In the finish, we have added hardener SafeLink to make the surface layer of the steering wheel extra resistant to wear. Also apply the Top Coat first with a sponge in thin layers (or airbrush if available).
After the first coat of finish has dried, sit down and feel the surface of the steering wheel with your hands to see if you can find any irregularities, such as dust particles or other things. This can be very annoying if not removed, the steering wheel should be even and smooth. Use a fine sandpaper (e.g. 1000 grit) to gently sand down any imperfections. Then apply a couple more coats of finish.
Now the steering wheel is finished! Carefully remove the masking. Let it dry for a few hours, preferably overnight, before using the car. After a couple of days, we recommend applying a protective cream on the steering wheel, it protects against both dirt and wear.